LibraryLink 5 prioritises the organisation of digital resources by their association with records in the linked database or GIS application. Beyond that the cataloguing of resources using metadata is also essential, allowing resources to be discovered through search, and correctly documented/ and attributed. A simple example might be that resource metadata would record the copyright of digital images. In ResourceSpace the metadata fields used for each kind of digital resource (images, documents, etc) can be fully cusomised to your requirements.
Metadata can be added before or after uploading, and edited for single resources or in bulk. Metadata values can also be automatically extracted from data embedded in source files, such as the coordinates embedded in a photograph taken on a GPS-enabled camera or phone.
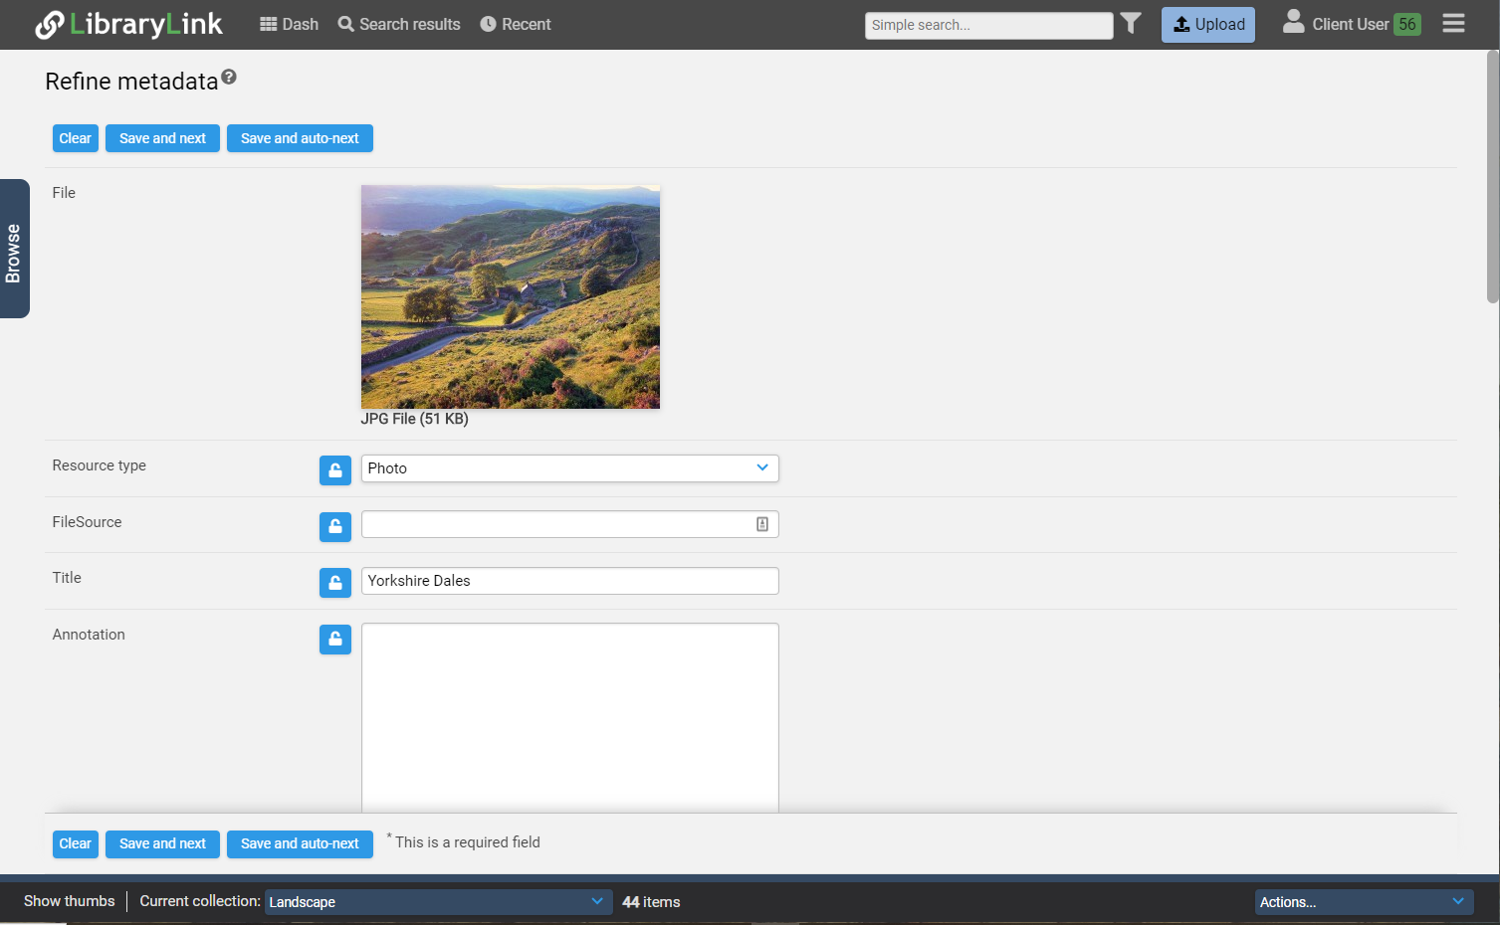
The following is a list of typical metadata fields that might be used:
| Resource type. Choose from 'Photo', 'Document', 'Video' or 'Audio'. (Other types can be added, and each may have a different schema of other metadata fields) |
| Creator |
| Original date/time |
| Title |
| Copyright |
| Folder tree: click on 'Show/hide tree' to display the available folders. Tick the box of the appropriate folder to add the file to it. |
| Caption: free text field |
| Source. Choose from: 'Digital camera', 'Digital camera 360 panoramic', 'Scanned photo' or 'Scanned negative' |
| Named Person: type the first few letter of name to be offered autofill options, if available. Alternatively a new name can be created. |
| Country: type the first few letter of the country to be offered autofill options. Alternatively a manual keyword can be created. |
| Status: choose from 'Active' or 'Deleted' |
| Access: choose from 'Open' or 'Restricted' |
Geolocation
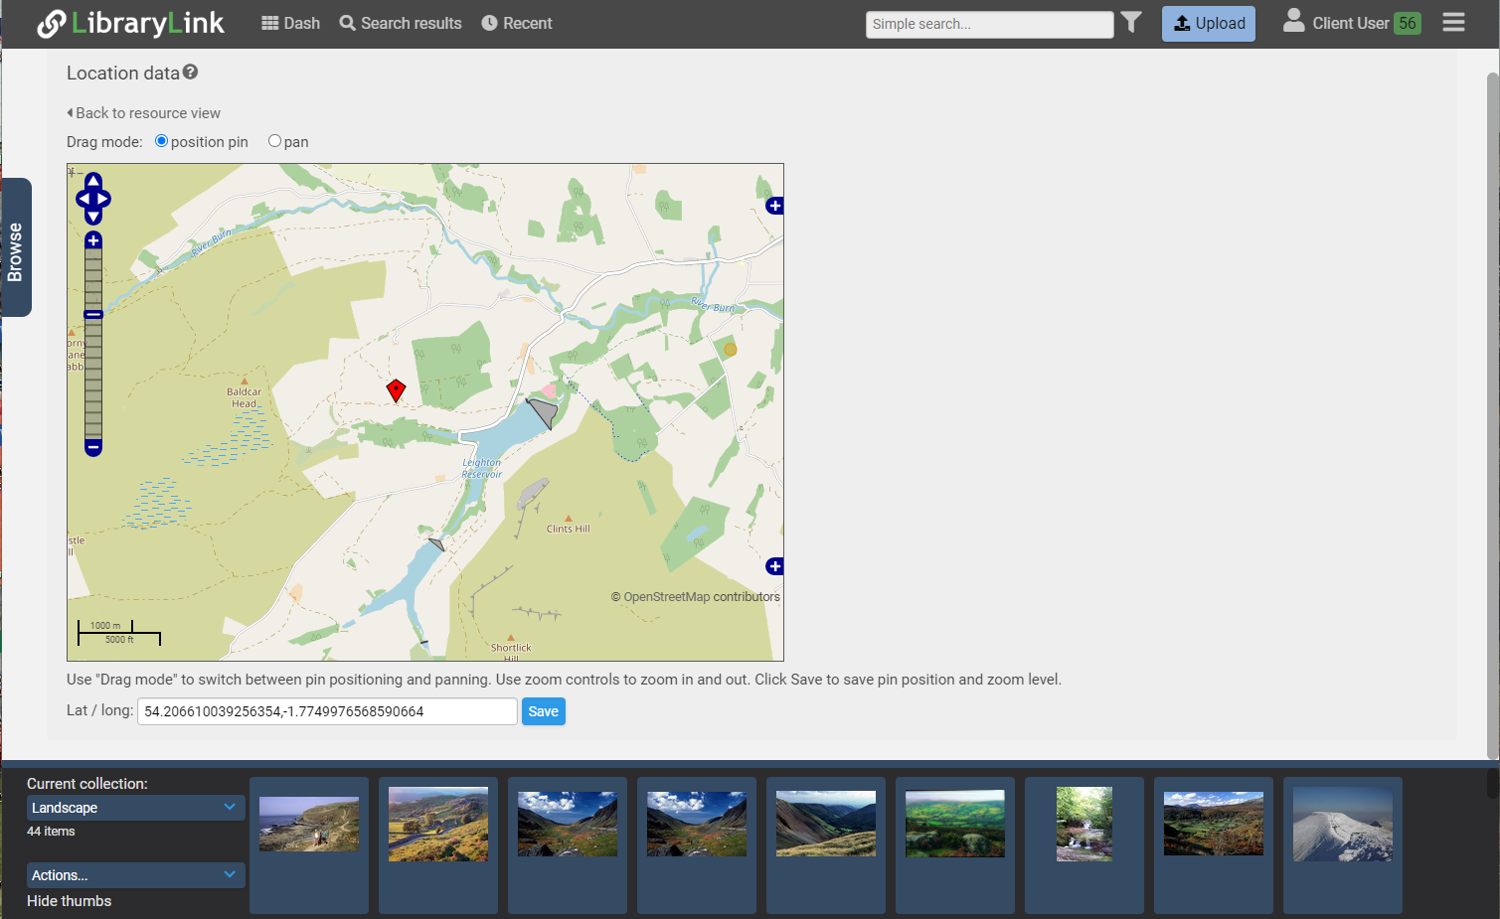
When an uploaded resource contains geolocational information, e.g. when a photograph was taken on a GPS-enabled camera or phone, LibraryLink 5 and ResourceSpace can show the location on a map (including via the LibraryLink API in other GIS applications such as QGIS).
Where a resource is not already geolocated, a mapped location can also be added after a resource has been uploaded. To do this, click on the resource thumbnail and in the following pop-up window scroll down to 'Location data'. Click on 'Add location', then pan and zoom the map and place the pin in the appropriate place. Click on 'Save', then 'Back to resource view'.
Editing metadata